0
Skip to Content
Professional Real Estate Photography Solutions
HOME
REAL ESTATE
COMMERCIAL
PORTFOLIO
HEADSHOTS
CONTACT
Professional Real Estate Photography Solutions
HOME
REAL ESTATE
COMMERCIAL
PORTFOLIO
HEADSHOTS
CONTACT
HOME
REAL ESTATE
COMMERCIAL
PORTFOLIO
HEADSHOTS
CONTACT

MELISSA SUTHERLAND
Direct: 613.795.8475
Melissa@exitrealtyvision.ca
www.exitrealtymatrix.com

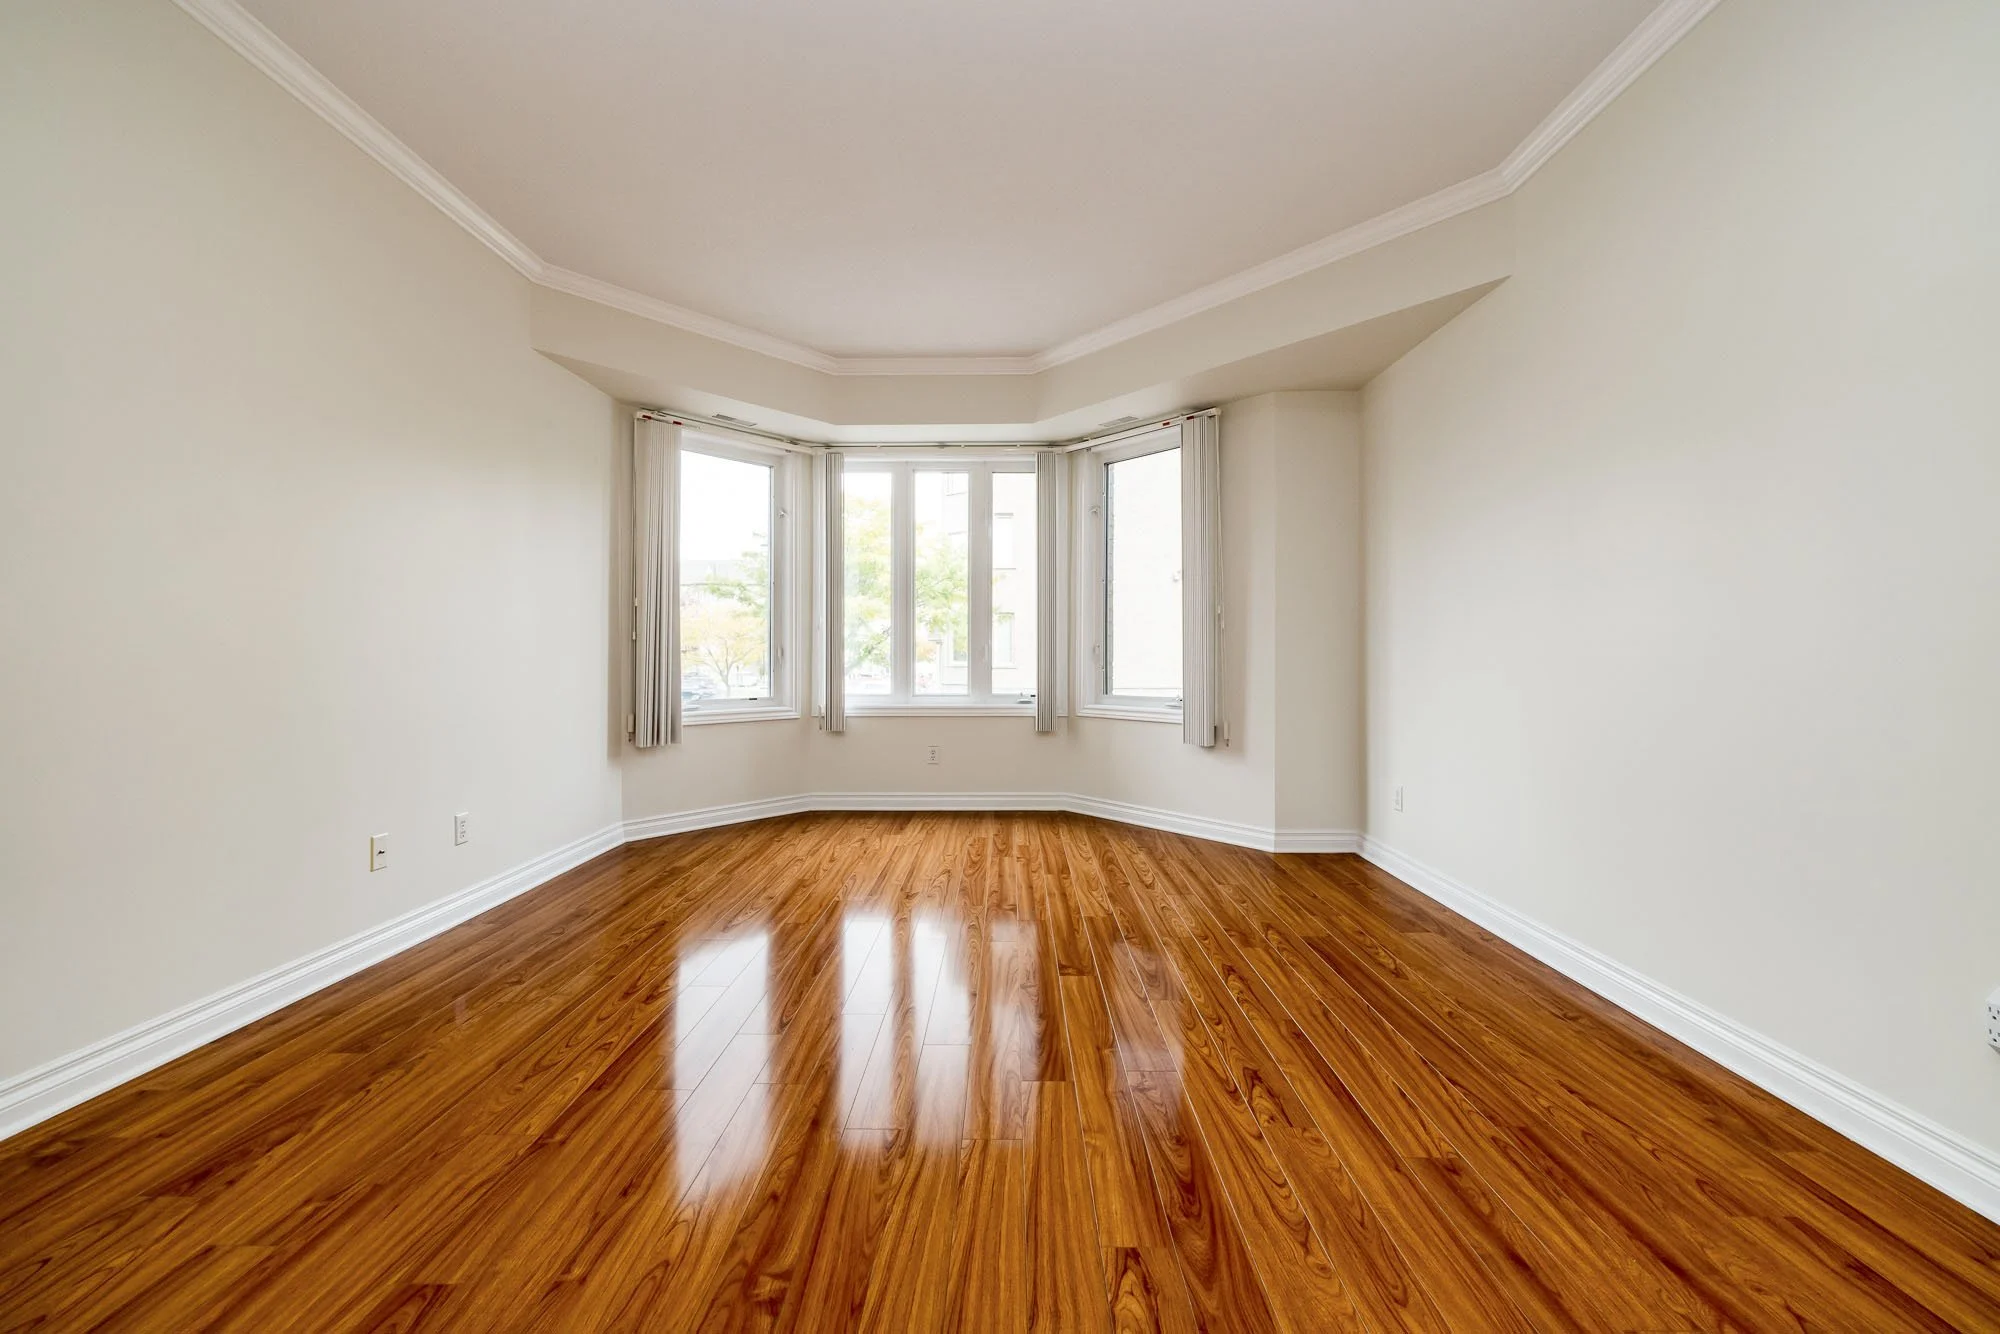
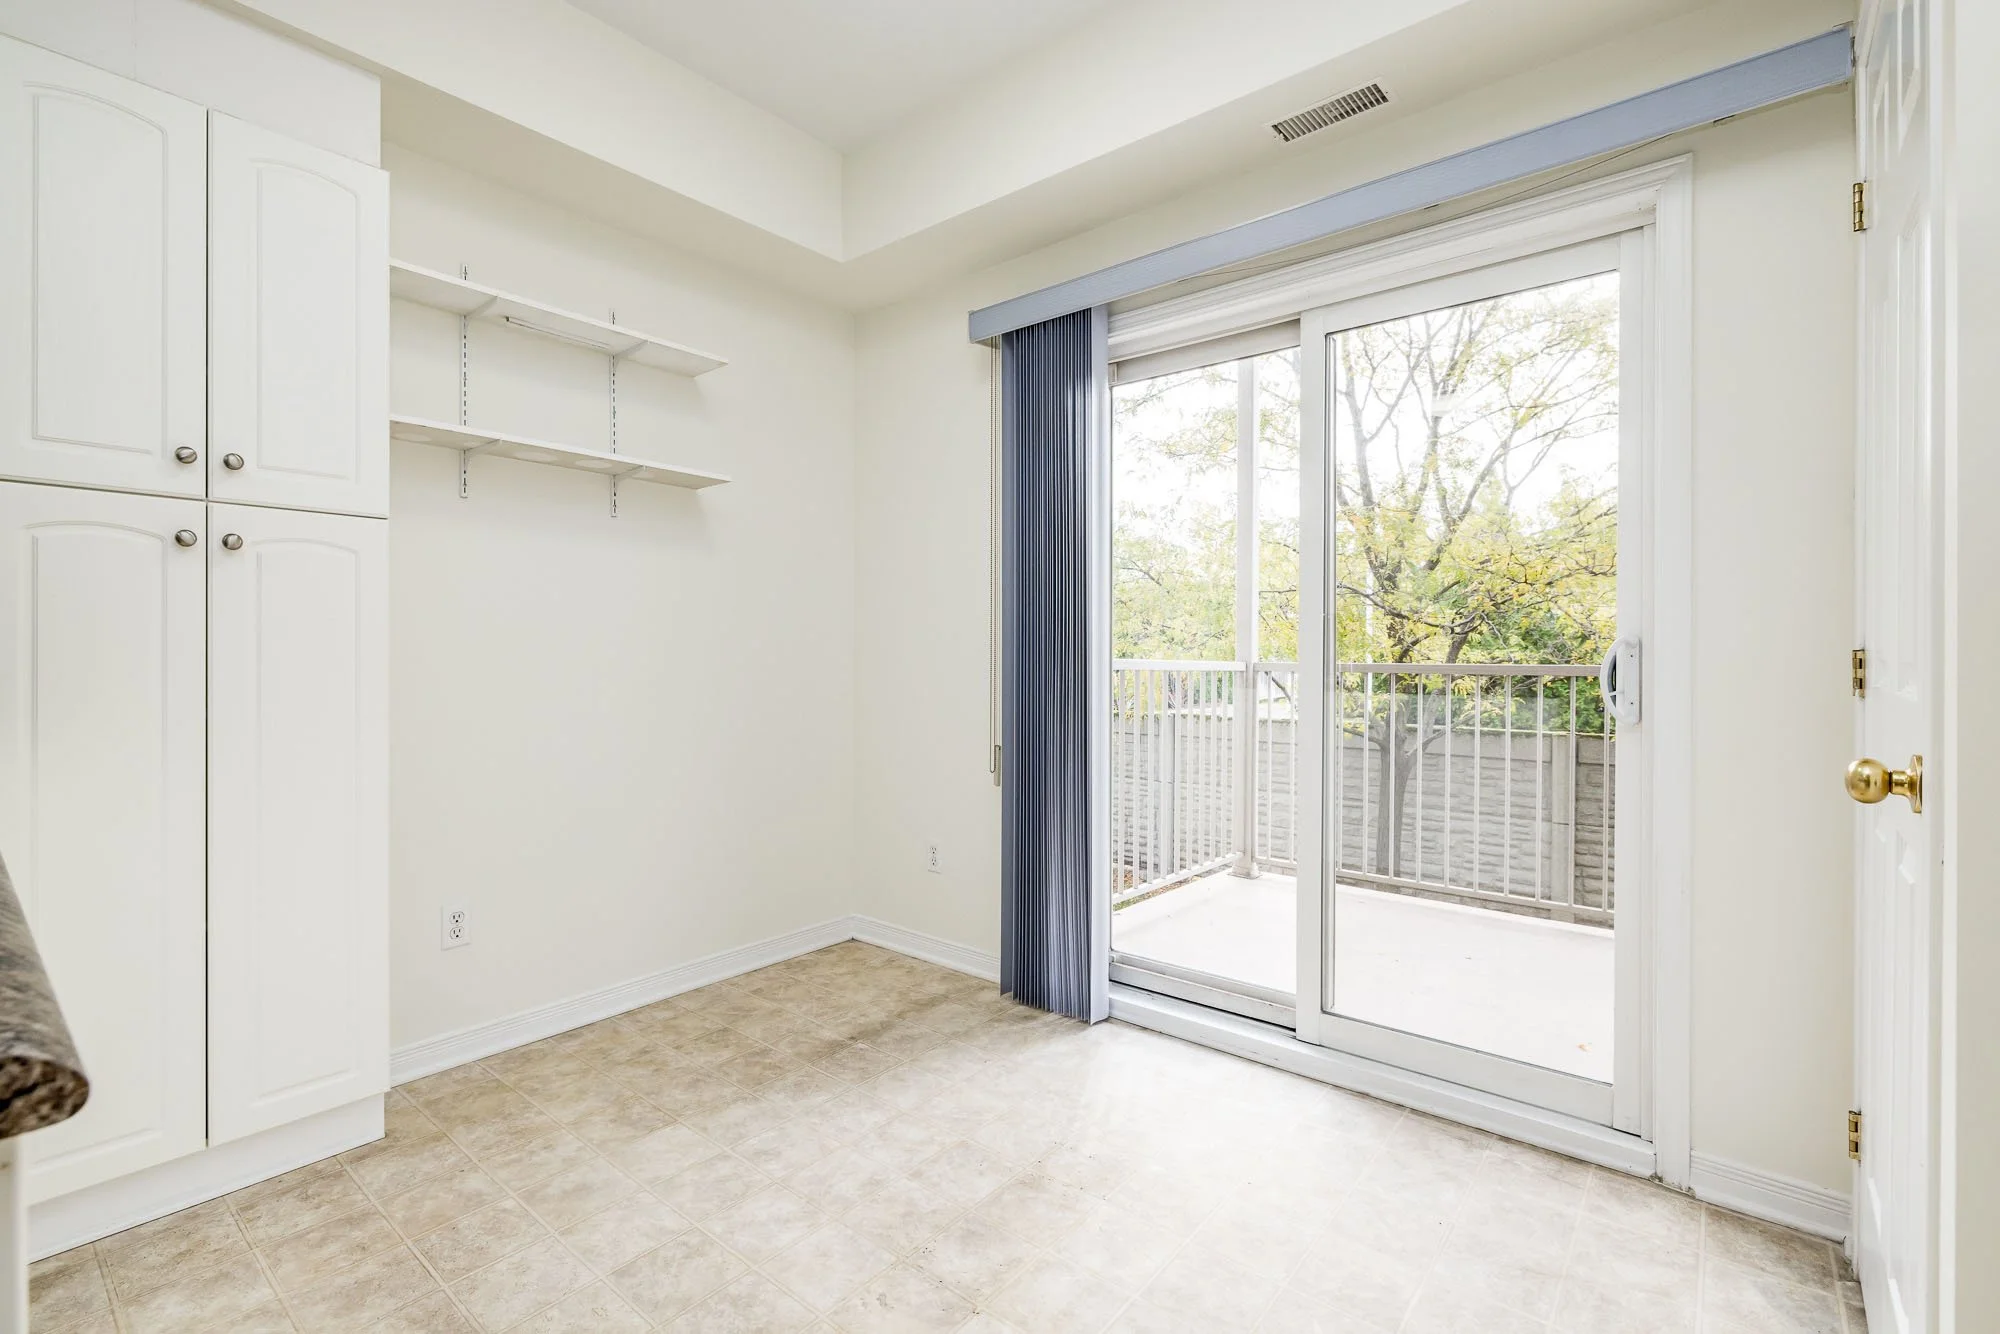
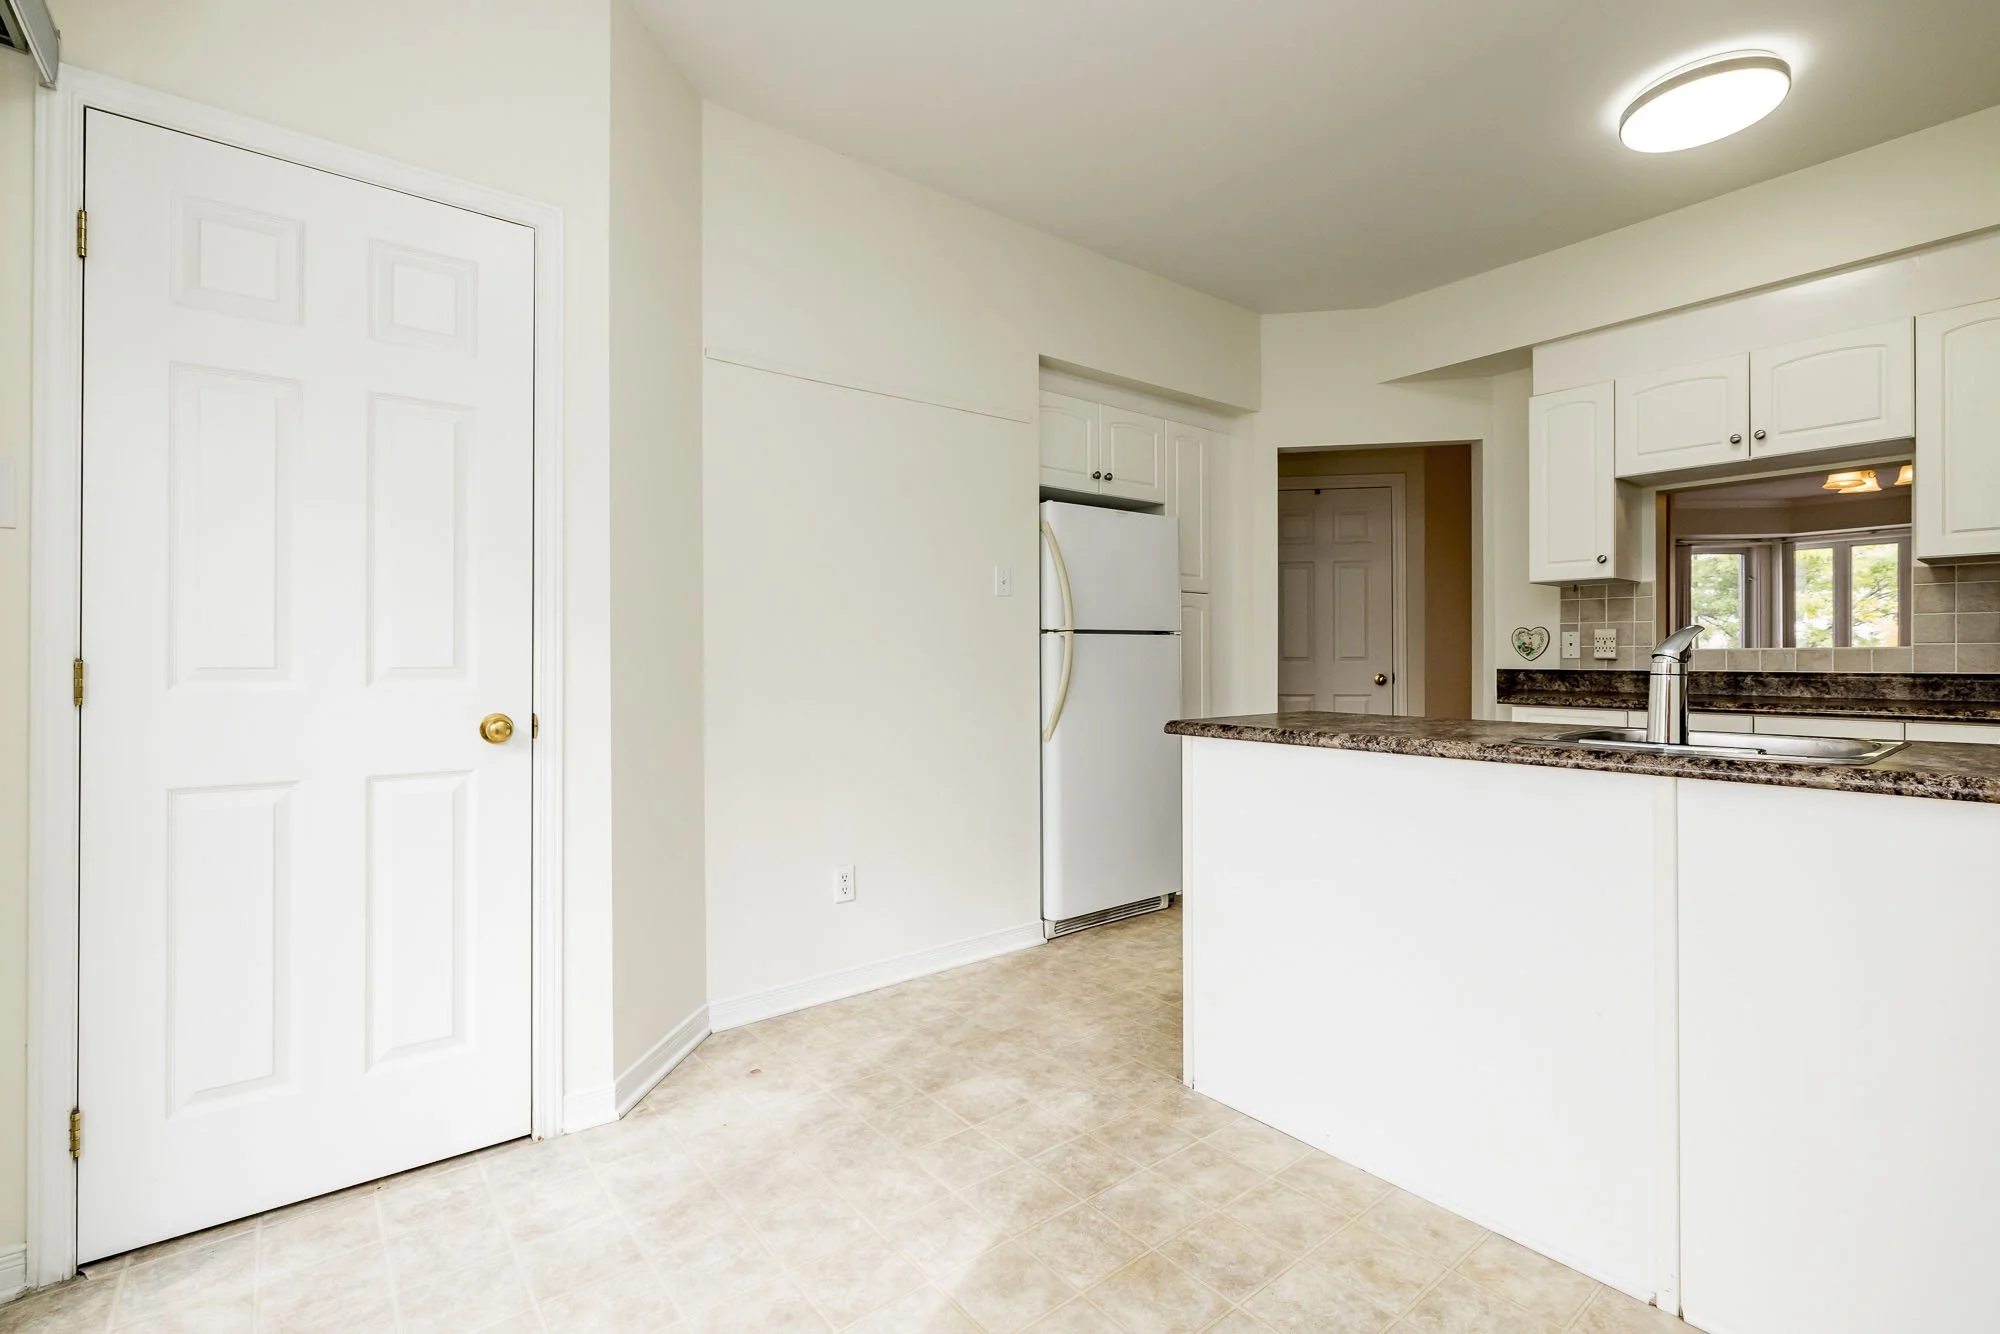
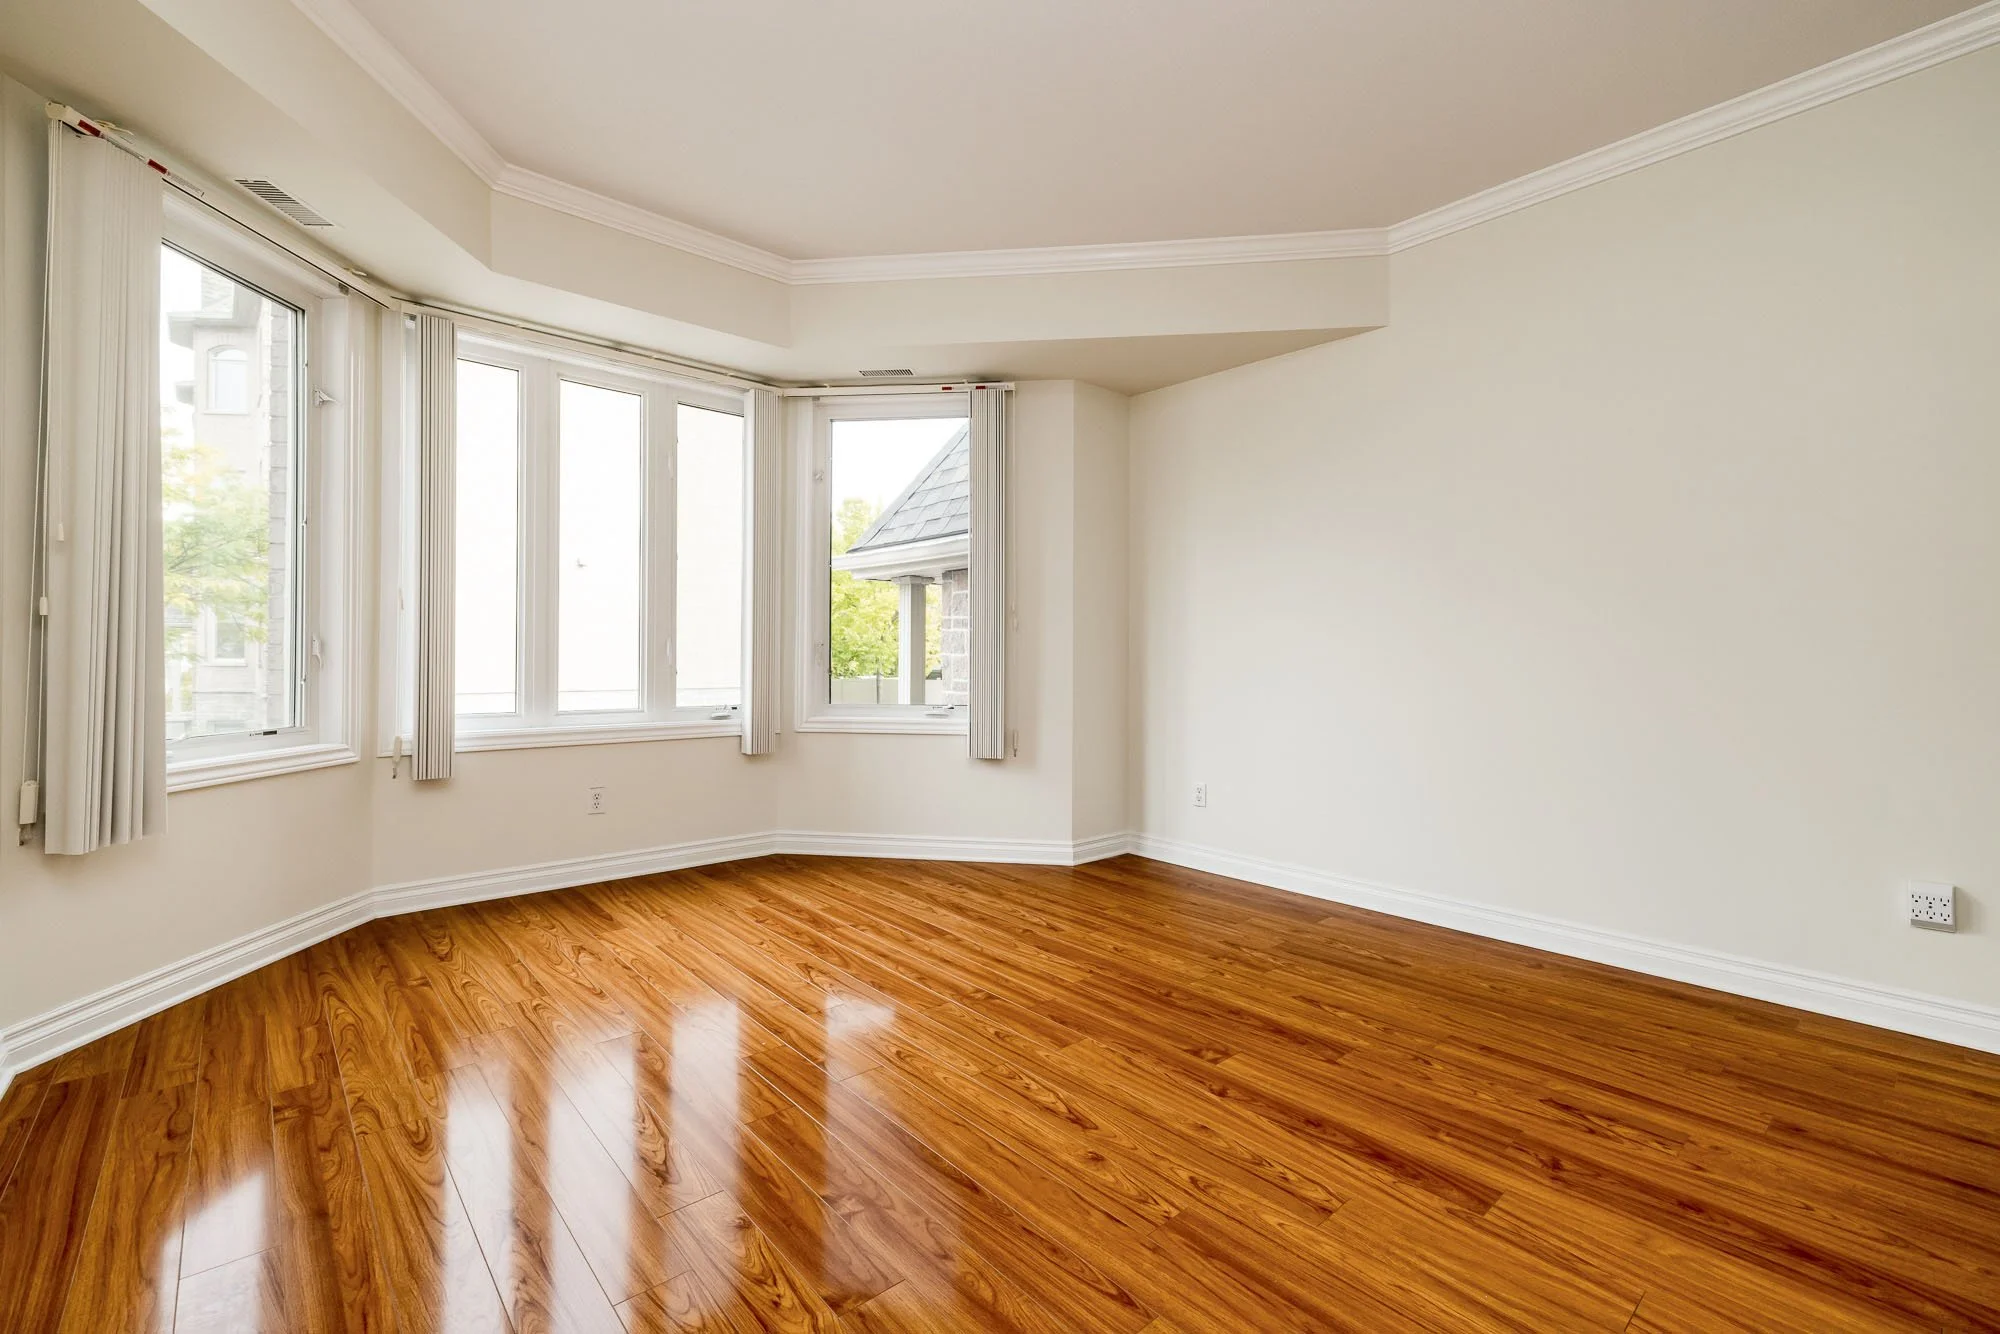
4 - 110 Briargate Private
2 Bedrooms | 1.5 Bathrooms

110 Briargate 4__001.jpg
110 Briargate 4__003.jpg
110 Briargate 4__004.jpg
110 Briargate 4__005.jpg
110 Briargate 4__006.jpg
110 Briargate 4__007.jpg
110 Briargate 4__008.jpg
110 Briargate 4__009.jpg
110 Briargate 4__010.jpg
110 Briargate 4__011.jpg
110 Briargate 4__012.jpg
110 Briargate 4__013.jpg
110 Briargate 4__014.jpg
110 Briargate 4__015.jpg
110 Briargate 4__016.jpg
110 Briargate 4__017.jpg
110 Briargate 4__018.jpg
110 Briargate 4__019.jpg
110 Briargate 4__020.jpg
110 Briargate 4__021.jpg
110 Briargate 4__022.jpg
110-Briargate-4__023.jpg
110 Briargate 4__024.jpg
110 Briargate 4__025.jpg
110 Briargate 4__026.jpg
110 Briargate 4__027.jpg
110 Briargate 4__028.jpg
110 Briargate 4__029.jpg
110 Briargate 4__030.jpg
110 Briargate 4__031.jpg
110 Briargate 4__032.jpg
110 Briargate 4__033.jpg
110 Briargate 4__034.jpg
110 Briargate 4__036.jpg

GALLERY

View fullsize 110 Briargate 4__001.jpg
View fullsize 110 Briargate 4__003.jpg
View fullsize 110 Briargate 4__004.jpg
View fullsize 110 Briargate 4__005.jpg
View fullsize 110 Briargate 4__006.jpg
View fullsize 110 Briargate 4__007.jpg
View fullsize 110 Briargate 4__008.jpg
View fullsize 110 Briargate 4__009.jpg
View fullsize 110 Briargate 4__010.jpg
View fullsize 110 Briargate 4__011.jpg
View fullsize 110 Briargate 4__012.jpg
View fullsize 110 Briargate 4__013.jpg
View fullsize 110 Briargate 4__015.jpg
View fullsize 110 Briargate 4__016.jpg
View fullsize 110 Briargate 4__017.jpg
View fullsize 110 Briargate 4__018.jpg
View fullsize 110 Briargate 4__019.jpg
View fullsize 110 Briargate 4__020.jpg
View fullsize 110 Briargate 4__021.jpg
View fullsize 110 Briargate 4__022.jpg
View fullsize 110-Briargate-4__023.jpg
View fullsize 110 Briargate 4__024.jpg
View fullsize 110 Briargate 4__025.jpg
View fullsize 110 Briargate 4__026.jpg
View fullsize 110 Briargate 4__027.jpg
View fullsize 110 Briargate 4__028.jpg
View fullsize 110 Briargate 4__029.jpg
View fullsize 110 Briargate 4__030.jpg
View fullsize 110 Briargate 4__031.jpg
View fullsize 110 Briargate 4__032.jpg
View fullsize 110 Briargate 4__033.jpg
View fullsize 110 Briargate 4__034.jpg
View fullsize 110 Briargate 4__036.jpg

Proudly photographed and hosted by